
Building your own remote control car using Arduino is an exciting way to dive into the world of DIY robotics. Whether you’re a hobbyist, a student, or an electronics enthusiast, this project offers a perfect blend of creativity, learning, and fun. Arduino, known for its beginner-friendly platform, makes it easy to assemble a customizable and affordable RC car. From basic Bluetooth control to advanced features like obstacle detection and app integration, this guide will walk you through every step to create a fully functional remote control car that you can proudly call your own.
Materials Required for Building a Remote Control Car with Arduino
Before you start, gather all the necessary components. Here’s what you’ll need:
- Arduino board (Uno, Nano, or Mini).
For those looking to add extra functionality, consider optional upgrades like an ultrasonic sensor for obstacle avoidance, a servo motor for steering, or LED indicators for status monitoring. A smartphone app can also be integrated for advanced controls.
Step-by-Step Guide to Building Your Remote Control Car
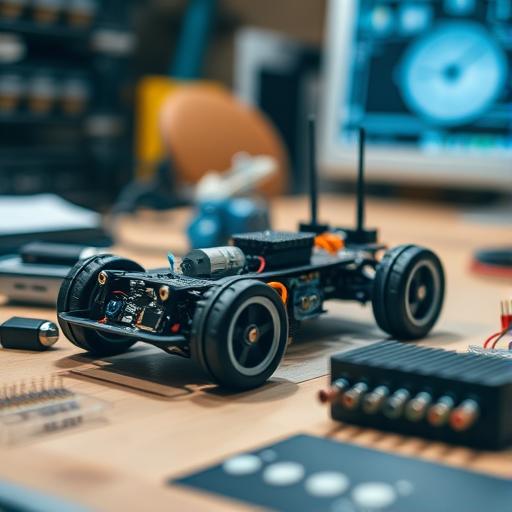
Assembling the Car Chassis
Start by selecting a chassis design, such as a wheeled or tracked model. Attach the motors and wheels securely, ensuring they are aligned for smooth movement. Next, mount the Arduino board and motor driver on the chassis, leaving enough space for other components.
Connecting the Motor Driver to Arduino
Wire the motor driver’s input/output pins to the Arduino according to the datasheet. Connect the power supply to both the motors and the Arduino. Test each motor individually using a simple code snippet to ensure they are functioning correctly.
Setting Up the Remote Control System
Choose a communication method, such as Bluetooth, Wi-Fi, or RF, and pair the transmitter and receiver. For example, if using an HC-05 Bluetooth module, code the Arduino to interpret signals from the remote. Test basic movements like forward, backward, left, and right to ensure the system works as expected.
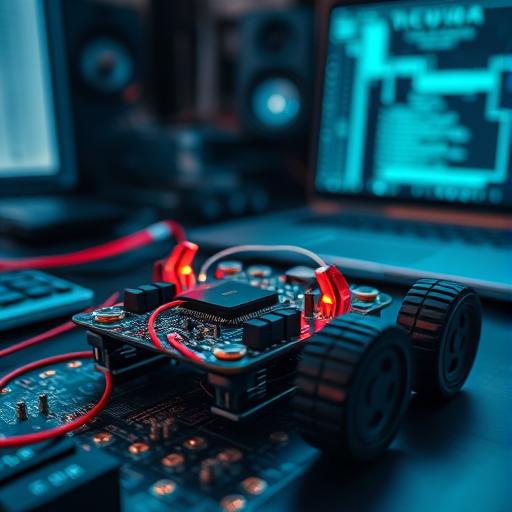
Writing the Arduino Code
Break down the code structure, including libraries and pin definitions. Map remote control inputs to motor commands, using PWM for speed control. Add error handling to manage signal loss or interference, ensuring smooth operation.
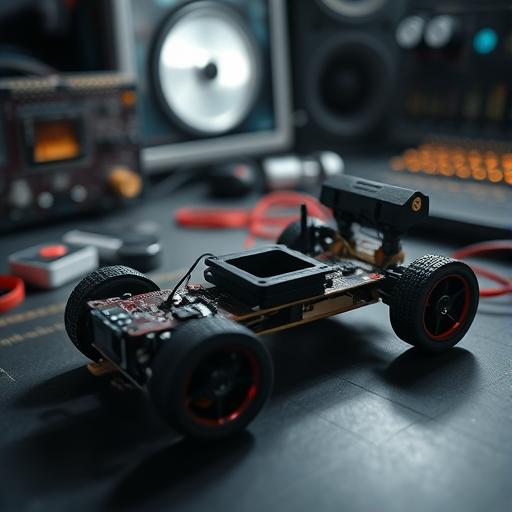
Final Assembly and Testing
Secure all components to the chassis and conduct a full test of the remote control functionality. Calibrate motor speed and direction for optimal performance, making adjustments as needed.
Customizing and Enhancing Your Remote Control Car
Advanced Modifications and Features
Take your project to the next level by adding sensors like ultrasonic or infrared for obstacle avoidance. Integrate a camera for first-person view (FPV) control or upgrade to a lithium battery for extended runtime. A smartphone app, such as Blynk, can offer real-time control and additional features.
Troubleshooting Common Issues
If your motors aren’t moving, check the wiring and power supply. For remote signal issues, verify pairing and code logic. If you experience lag, optimize the code or switch to a higher-bandwidth module.
Conclusion
Building a remote control car with Arduino is a rewarding project that combines creativity, problem-solving, and technical skills. By following this guide, you’ve learned how to assemble the chassis, connect components, and write code for seamless control. Don’t stop here—experiment with advanced features like line-following or autonomous navigation. Most importantly, have fun and enjoy the journey of creating something uniquely yours!
FAQ Section
Can I use any Arduino board for this project?
Yes, Arduino Uno is the standard choice, but alternatives like Nano or Mini are also compatible.
How do I program the remote control functionality?
Use libraries like SoftwareSerial for Bluetooth or integrate a mobile app for advanced control.
Is a smartphone app necessary, or can I use a basic remote?
Both options work. A basic remote is simpler, while a smartphone app offers greater flexibility.
Why isn’t my car moving when I send commands?
Check the wiring, motor driver configuration, and code for potential errors.
How can I improve the car’s speed and battery life?
Use efficient motors and lithium-ion batteries for better performance and runtime.